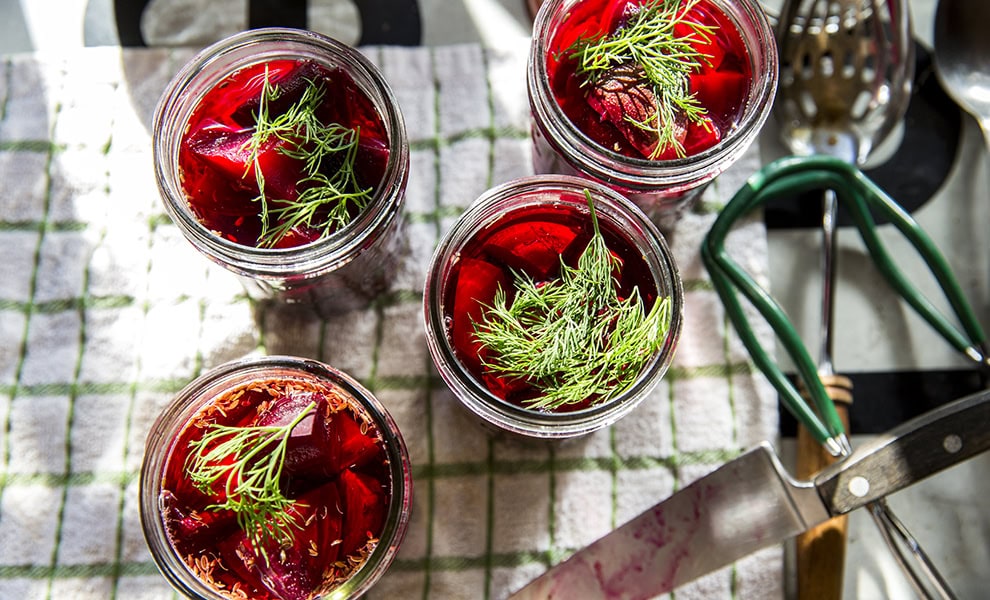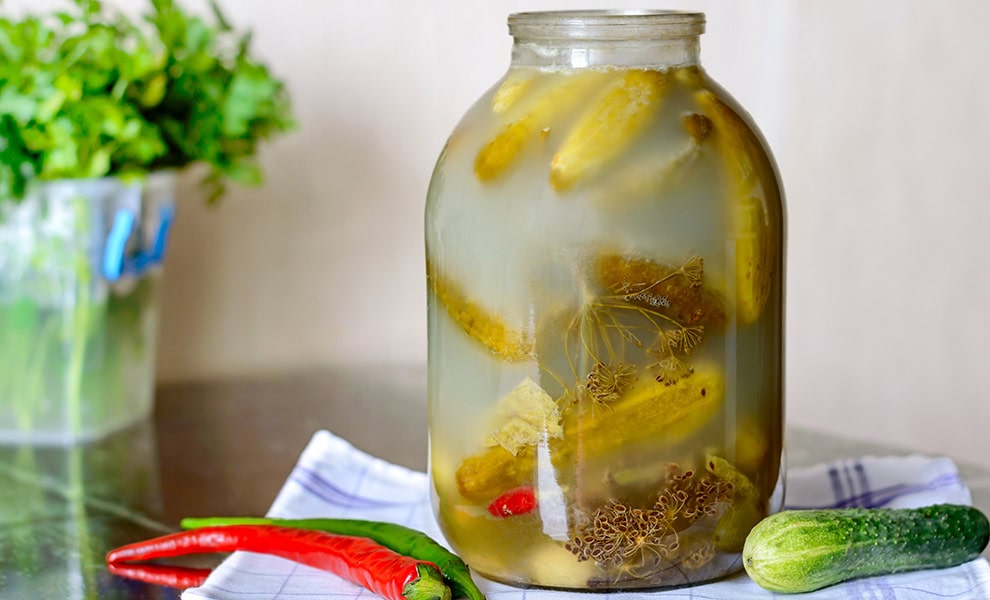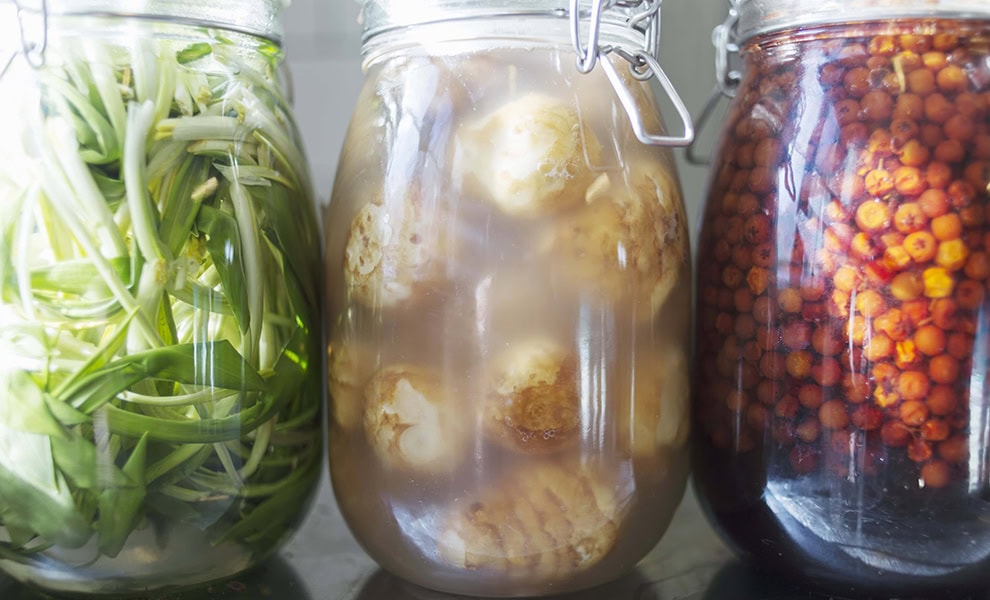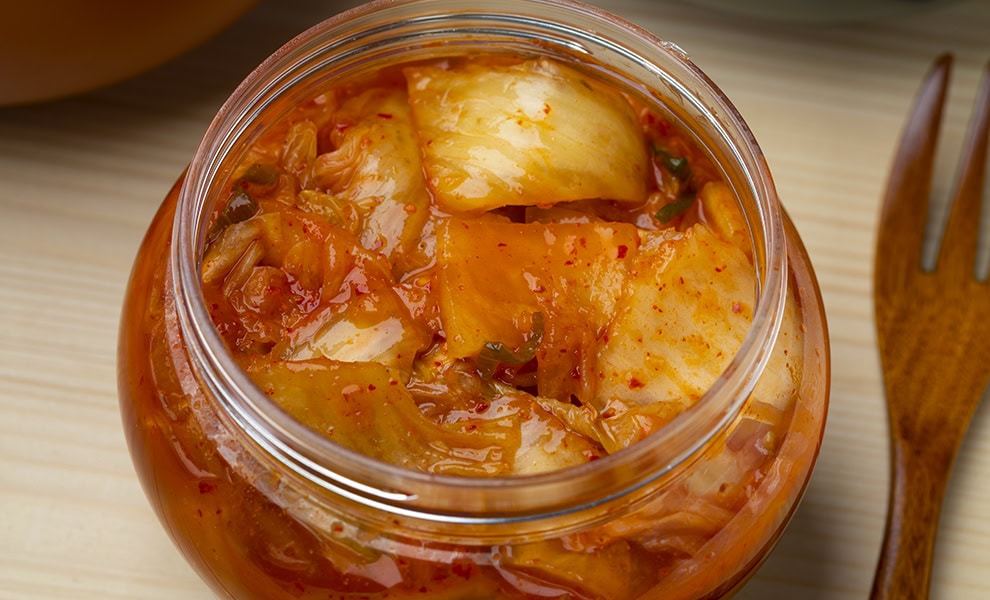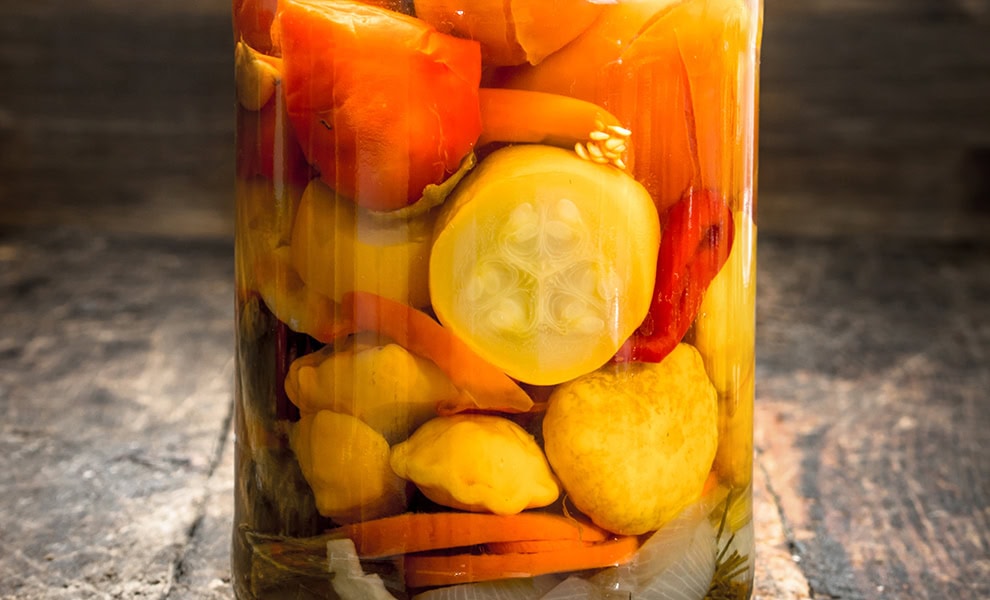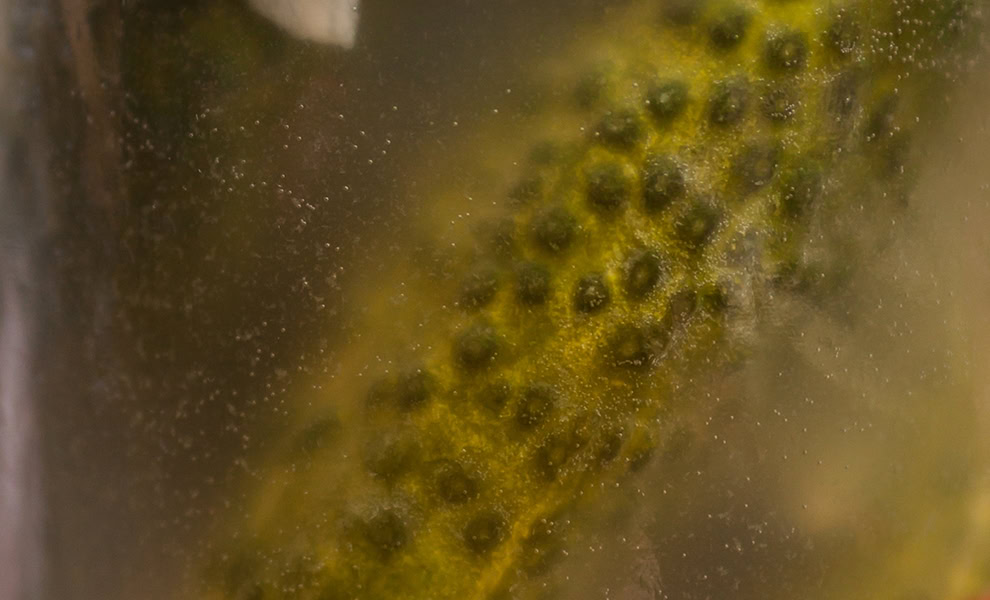
Fermentation is a great way to transform and preserve food that doesn’t require energy (like for cooking or freezing) or complicated equipment. These nutrient-dense living foods are increasingly recognised for their significant impact on gut health, and the interconnected effect on brain health. The principle is simple – harness the lactobacillus bacteria naturally present in fruits and vegetables (that’s the same good bacteria found in yoghurt) to perform a low-temperature, long-time cooking method that preserves your food. Fermentation is a global and ancient way of preserving food. As an added bonus, it turns raw ingredients into delicious, tangy food rich in umami (the savoury fifth taste). A surprising number of foods and drinks are fermented, including vinegar, wine, cidre, chocolate, tea, coffee, bread, cheese, soy, and miso. Fermentation is the opposite of mass-production ultra-processing; it’s a fun, creative, and tasty act of autonomy!
Supplies/materials
-

- Veg
-

- Salt
-

- Water
Tools/equipment
-

- Knife
-

- Jar
Preserve fruit and veg by fermenting them
Learn fermentation basics - salt concentration, temperature, and how to spot healthy microbial activity - and you can improvise with whatever produce is at hand. Familiarity with how a ferment smells, tastes, and behaves becomes your guide, meaning recipes become optional rather than essential. These steps are for brine fermentation; dry salt fermentation (like for Kimchi or sauerkraut) is in the 'alternatives' section.
1
- Clean everything thoroughly (hands, equipment, containers, work surfaces, etc.)
- Select your vegetables, fruits, and other ingredients suitable for fermentation and prepare them by washing, trimming, and cutting to desired size.
- Pack your ingredients into your fermentation jar. You want to avoid creating air pockets, so for finely cut ingredients you might want to tamp down as you go.
2
- Prepare a brine solution to cover your ingredients by dissolving salt in cold water. You can calculate how much brine you’ll need by filling your packed jar with water and then pouring it off into a measuring jug (or you can weigh it if easier). Salt should always be weighed, as it’s very hard to measure by volume.
- Brine is a concentration between 2% and 4% salt in the vast majority of cases. Saltiness is often a matter of taste, so you can try different brines for the same batch of ingredients to see what you prefer.
- Pour the brine into your jar, ensuring the food is fully submerged below liquid level. You can weight it down if necessary. Leave a small amount of space at the top of the jar for gases and expansion.
3
- Close your jar. As fermentation starts (usually within 12 to 48 hours), you’ll start to see tiny bubbles appear. This is carbon dioxide, produced by the microbes as they consume sugars and convert them into acids, alcohol, or other compounds. You can use an airlock system to allow these gases to escape or ‘burp’ your jar manually every day – loosening the lid a little and then reclosing.
- Keep at room temperature away from direct sunlight.
- Check your ferment daily, pressing the food back under the liquid if it floats up (you might need to adjust your weights). You can skim off any surface scum or mould that appears on top.
4
- Taste (and smell!) the ferment after 3 to 5 days to monitor flavour development.
- Continue fermenting until you achieve the desired sourness and texture. This is typically 1 to 4 weeks depending on temperature and preference.
- Transfer to cold storage (fridge or basement) once fermentation reaches the desired stage. Keep cool and consume within the preservation timeframe for that particular ferment.
Variations & alternatives
The above how-to explains the steps for fermenting with brine. You can also ferment by dry salting. This involves massaging salt directly into shredded or chopped vegetables to draw out their own moisture, which becomes the fermentation brine. So no water is added; the vegetables ferment in the liquid they release.
Dry-salt fermentation method (for sauerkraut, kimchi, and similar ferments)
- Clean everything thoroughly (hands, equipment, containers, work surfaces, etc.).
- Select your vegetables and other ingredients, ones suitable for dry-salting like cabbage, root vegetables, and other produce that releases moisture when salted.
- Prepare vegetables by washing, trimming, and shredding, slicing, or chopping to increase surface area.
- Weigh the prepared vegetables to calculate salt quantity – usually 2% to 3% of the vegetable weight.
- Sprinkle salt directly over vegetables in batches, mixing thoroughly. Massage or pound the salted vegetables to break down cell walls and release liquid (this takes 5 to 15 minutes of vigorous work). Let the salted vegetables rest for 30 to 60 minutes if they’re not releasing enough liquid immediately.
- Pack the vegetables tightly into the fermentation vessel, pressing down firmly to eliminate air pockets and bring the liquid to the surface (the released juices become the brine – no water is added!).
- Now, as with the brine method, weight vegetables down to keep them submerged. Leave headspace at the top of the vessel for gases and expansion and cover loosely or use an airlock system to allow gases to escape while preventing contamination.
- Liquid levels may drop in the first days as the vegetables absorb their brine. If they remain exposed after 48 hours, you have two options: if fermentation has started (you see bubble activity), just shake the jar gently to coat the top of the veg with brine (because fermentation is active, the carbon dioxide in the headspace means your veg shouldn’t go mouldy), but if fermentation isn’t happening yet, you can open the jar and top up with a 2% salt solution to cover the veg.
- Keep at room temperature away from direct sunlight.
- Check daily, burping if needed, and taste after 3 to 5 days of fermentation to monitor flavour development.
- Continue fermenting until the desired sourness and texture develop – typically 1 to 4 weeks.
- Transfer to a fridge or basement once fermentation reaches the desired stage. Dry-salted ferments often last 6 to 12 months due to concentrated brine.
Notes about fermentation
There is a whole industry selling everything you could possible need to ferment. But expensive kit isn’t required to make great ferments. Fermentation is an ancient, forgiving process that humans have harnessed for millennia. Equipment exists to solve problems that might not even bother you – bulk prep, lid management, surface mould, checking daily. So start with what you have: clean jars, salt, water, and vegetables. Invest in purpose-made equipment once you know you enjoy fermenting and want to scale up or simplify the process.
You can ferment in any clean glass or ceramic jar with a lid or a plate or cloth covering the jar opening to allow gases to escape while keeping debris out. Food-grade plastic buckets are acceptable for larger batches, although they can absorb odours and stain. Avoid metal containers and lids that contact the brine directly, as salt and acid corrode them.
Making sure your ingredients stay below the water level is vital. Weigh your ingredients down with something heavy that won’t react with the food (clean stone, glass or ceramic weight, smaller jar filled with water, etc.). Some people use a large clean leaf like a cabbage leaf to keep the ingredients in place.
If you don’t want to ‘burp’ your jars every day, you can opt for a fermentation airlock (or fermentation lid) – a one-way valve that allows carbon dioxide to escape while preventing oxygen and contaminants from entering. It sits in the jar lid, allowing the gas produced during active fermentation to bubble out through water or a silicone valve mechanism, maintaining pressure balance and reducing the risk of jars exploding from gas build-up. You can get glass or plastic airlocks. Another alternative is a ceramic jar with a moat around its top that you fill with water. When the lid is placed on the crock, it sits in the water to create an airlock, sealing against contaminants but still letting gas escape.
Ferments should be kept away from direct sunlight, as ultraviolet kills bacteria. The ideal room temperature is 18°C to 22°C for many recipes (note: ferments like sourdough, tempeh, and yoghurt will want it much warmer), but fermentation will still happen at colder or warmer temperatures. As they come alive, you’ll hear hissing (that’s gases escaping) and see bubbles rising up. It’s not uncommon for some juices to bubble out, so placing jars on a tray or saucer is a good idea.
Frequently asked questions (FAQ)
How does fermentation compare to other methods of food storage? Is fermentation low-tech?
Fermentation is unique among preservation methods because it adds rather than removes. It creates flavour complexity, beneficial bacteria, vitamins, and digestibility that weren’t there before. Other methods, such as freezing, canning, drying, and salting, all aim to halt degradation by stopping microbial activity through temperature, sterility, water removal, or osmotic pressure. They preserve food in stasis. Fermentation preserves through transformation, actively encouraging specific microbial life that outcompetes spoilage organisms.
Another difference is energy requirement. Fermentation needs no energy to happen (beyond perhaps heating water for cleaning purposes or if you opt to pre-boil your water), making it the ultimate low-tech storage method. Pickling is low-energy but does require heating of vinegar and sometimes cooking of ingredients. Chutneys, jams, jellies, and canning all require longer cooking times. Dehydrators (or the oven) require energy to run. Freezing food demands constant electricity to power the appliance and the serious possibility of large quantities being spoilt when the power goes down (likely to be a regular occurrence because of climate chaos).
Once the preservation process is complete, these different methods also come with different storage times. Options like canning and pickling give you years of stable shelf life; fermentation gives less and requires monitoring. Drying removes bulk and weight; fermentation adds liquid. Each method suits different needs, but low-tech fermentation stands alone in turning preservation into an active biological process that enriches rather than merely maintains food.
What is lactobacillus (lacto bacteria or lactic acid bacteria (LAB))?
Lactobacillus (now reclassified into multiple genera but still commonly called ‘lactobacteria’ or ‘LAB’ – lactic acid bacteria) are bacteria that convert sugars into lactic acid through fermentation. They’re naturally present on vegetables and fruits and in many environments. When you create the right conditions – an anaerobic (oxygen-free), salted environment – these bacteria outcompete other microorganisms and dominate the fermentation, producing the lactic acid that preserves food, creates the characteristic sour flavour, and lowers pH to levels where harmful bacteria can’t survive. Lactobacillus are the primary organisms responsible for fermenting vegetables, making yoghurt, sourdough, and many other fermented foods. They are beneficial to human digestion and considered probiotic.
What vegetables can and can't be fermented?
Almost any firm, fresh vegetable with low starch content ferments successfully (cabbage, cucumbers, carrots, radishes, beetroot, beans, cauliflower, peppers, onions, garlic, courgettes, turnips, asparagus, and countless others all work). Leafy greens ferment but become very soft, so they are better in kimchi-style ferments where a softer texture is expected. Potatoes are starchy and go unpleasantly slimy but can be fermented after cooking. Very watery vegetables like lettuce or overripe tomatoes struggle, will fall apart, and create murky brine. You can ferment vegetables whole, sliced, shredded, or diced, but remember that surface area affects fermentation speed. Combine vegetables together for more complex flavours or ferment single vegetables for simplicity. Fermentation is forgiving, and even odd combinations often work surprisingly well.
Do fruits ferment the same way as vegetables?
Fruits like tomatoes, peppers, and cucumbers ferment like vegetables since their sugar content is low to moderate. Sweet fruits like stone fruits, berries, apples, and pears ferment differently due to higher sugar content, which encourages both lactic acid bacteria and yeasts to create more alcoholic, fizzy results than vegetable ferments. Use the same brining method (2% to 4% salt to water) but expect faster fermentation and more active bubbling. Fruit ferments often develop complex, wine-like or champagne-like flavours. They’re more prone to kahm yeast and surface growth due to the sugars. Some fruits like plums, cherries, and apricots ferment beautifully; very soft fruits like strawberries or bananas turn to mush. Firmer fruit work better. Fruit ferments are less stable than vegetable ones and should be eaten within weeks rather than months. Many traditional ferments combine fruit and vegetables (apple in sauerkraut, for example) to balance flavours and fermentation characteristics. Experiment cautiously and expect different results from vegetable ferments.
How much salt is needed for fermenting?
Salt percentage varies by what you’re fermenting and how you’re using it. Most vegetable ferments work at 2% to 4% salt (measured against water weight for brines or vegetable weight for dry salting). This range encourages beneficial bacteria while suppressing spoilage organisms and creates pleasantly seasoned results.
For specific ingredients like olives, capers, or preserved lemons fermented using traditional methods, follow established percentages rather than experimenting. Salt percentage affects both safety and flavour, so measure accurately rather than guessing.
Here are some very general rules of thumb for salt ratio to get you started:
- celery: 1% – 1.5%
- sauerkraut: 2% – 2.5%
- cabbage, carrots, radishes, beetroot, cauliflower, beans, peppers, kimchi: 2% – 3%
- broccoli, green beans, tomatoes: 2.5% – 3%
- cucumbers (half-sours): 3% – 3.5%
- garlic (whole cloves): 3% – 4%
- cucumbers (full pickles), radish, onions: 4% – 5%
- preserved lemons, olives: 7% – 10%
- capers: 10%
What's an easy way to calculate how much salt is needed?
There’s an easy calculator in the sidebar of this post that will help you calculate the salt quantity needed for your brine or dry-salt ferment. For a distraction-free version of the tool, bookmark the free salt calculator tool page.
How can I calculate the amount of salt needed without scales?
It isn’t easy to confidently calculate salt weights without scales, and if you’re just starting your fermentation journey, you might want to try different brine strengths to learn what your preferences are – so knowing that a brine is, for example, exactly 2.5% could be very useful. But if weighing your salt isn’t an option, you can still approximate. A teaspoon of normal table salt weights approximately 5 g. If you use something like sea salt flakes or coarse salt, there is more air in between crystals, and so it will weigh less (possibly around 3 g depending on the coarseness). Make up your brine using those approximations, and the next way to get a sense of whether your brine is right is taste. Seawater is around 3.5% salinity. So if your brine tastes like the sea, you know it’s somewhere around that. If it’s so salty your face puckers up, it might be double that or more. If it hardly tastes salty at all, you may not have added enough. If you already have some ferments in the fridge, you can try comparing the salinity of those with your brine. Keep tasting enough brines, and over time you’ll be able to taste whether a brine is about right for what you’re making.
What salt works best in fermentation?
Salt mediates fermentation by encouraging beneficial bacteria while suppressing harmful organisms, making both the type and quantity critical. Fine salt works best when being mixed directly with ingredients, like sauerkraut or preserved citrus. Coarse salt is fine for brines, provided it dissolves completely.
The mineral content of your salt matters. Salts stripped of trace minerals through processing create harsher, more intensely salty ferments, while mineral-rich options produce softer, more complex flavours and provide additional trace nutrients. Himalayan pink salt offers high mineral content and freedom from modern pollutants but costs more and raises sustainability concerns. Locally harvested sea salts (most European coastal countries produce sea salt) provide good mineral content if unprocessed, though being coarser, they require thorough dissolution or massaging to ensure even distribution.
Avoid table salt and iodised salt, as they contain anti-caking agents or iodine that interfere with fermentation. Kosher salt’s large grains dissolve slowly, and its lack of minerals creates more salty results. Smoked salts add flavour if genuinely wood-smoked rather than artificially flavoured, but any salt with added flavourings dilutes ferment potency and risks disrupting the process. Pickling salt works as an affordable option, though it tastes saltier due to mineral removal.
The rule of thumb is to use unrefined salt with natural mineral content, no additives, and appropriate grain size for your method.
Can the brine from finished ferments be reused?
Finished ferments contain beneficial bacteria that can jump-start new ferments, acting as a starter culture. This process is called ‘backslopping’ and is a vital part of maintaining a sourdough starter. Some people, therefore, add a few tablespoons of a finished brine to inoculate their fresh ferments with established lactobacilli (the idea is it can speed up fermentation). However, everything needed for salt fermentation is already present on raw vegetables, so there really is no need to add competing microbes from the later stages of another fermentation. Different bacteria are active at different stages of lacto-fermentation.
If you do opt to backslop your fermented fruit and veg, the brine must be from a healthy, successful ferment; don’t use brine from anything that developed mould or off-flavours. Don’t recycle brine in ferments indefinitely. Use once or twice, then start fresh, as bacterial populations can drift or weaken over multiple generations. An alternative, if kickstarting your ferment is important to you, is adding a bit of whey or buttermilk (respectively, the by-products of making cheese or butter), which are rich with live bacteria.
You can drink small amounts of fermentation brine for its probiotic benefits or use it in salad dressings, marinades, cocktails, or cooking (when cooking, you lose the good bacteria but you get the umami flavours and gentle acidity). It can be used in place of vinegar in recipes where a sour flavour is wanted, though it’s milder than vinegar.
What sugar works best in fermentation?
You typically only use sugar for cultured drinks like kombucha, ginger beer, or water kefir. Sugar feeds your fermentation, but choosing the right type matters because a high mineral content can overwhelm the delicate balance of bacteria and yeasts doing the work. Raw organic cane sugar is a reliable choice: minimally refined with low mineral content, it creates clean-tasting ferments without competing with your cultures. Turbinado sits a step less refined with medium minerals, while darker sugars like rapadura, panela, muscovado, and jaggery bring their retained molasses along for the ride – rich flavour, deep colour, and enough minerals to slow things down in cultured drinks, though they’re fine for simpler ferments.
Refined white sugar is pure sucrose with no vitamins, minerals, or fibre. Brown sugar is just refined white sugar reunited with its molasses. So while both will work in fermentation (check labels for anti-caking agents or additives that might interfere), you may choose not to buy them for health reasons. Maple syrup and molasses are too mineral-rich and flavourful to use solo – they’ll overwhelm or damage water kefir grains and similar cultures – but a little goes a long way when combined with cane sugar (a tablespoon of maple or half a teaspoon of molasses per 50 g does the trick).
Avoid coconut palm sugar; despite its health food credentials, it’s far too rich and likely to damage your cultures. Sugar substitutes like agave and stevia simply don’t provide what fermenting bacteria need. As for honey, its complex native bacteria compete with your ferment, so it needs careful dilution (19%) before lactic acid bacteria can even begin their work. Stick to recipes that specify quantities if you’re using it, and choose raw local honey when you can.
What water works best in fermentation?
Fermentation recipes might specify filtered or mineral water because (depending where you live) tap water can contain chlorine and treatment chemicals that can slow or stop the fermentation process entirely. Instead of buying bottled water, you can filter your tap water – activated bamboo charcoal filters offer a natural, plastic-free, biodegradable alternative to mainstream plastic filter systems; they’re inexpensive and last for months. Alternatively, boil tap water and let it cool completely to room temperature, which allows the chlorine to evaporate before you use it.
What does healthy fermentation smell like versus spoilage?
As fermentation activates within the first few days, fermentations develop a sharp, tangy sourness from the lactic acid bacteria, producing a characteristic fermented smell. This can be quite pungent and sulphurous – particularly with brassicas like cabbage or radishes, which release compounds that smell distinctly of rotting vegetables or eggs. This is normal, not spoilage.
As fermentation continues, the aggressive sulphurous notes typically mellow while the pleasant sour tang intensifies. By the time fermentation slows (1 to 3 weeks), the smell becomes more complex – still sour but with depth rather than sharpness. Once refrigerated, the smell stabilises and becomes less aggressive.
Spoilt ferments smell genuinely putrid, with a foul, rotten smell that is nothing like the sharp sourness of healthy fermentation. If it smells bad enough that you recoil rather than just wrinkle your nose, and especially if accompanied by sliminess or discolouration beyond surface issues, discard it. However, strong and slightly unpleasant smells during active fermentation are usually just the process working, not contamination. Trust your instinct: fermentation smells strong but not revolting.
Why has the fermentation brine turned cloudy or white?
Cloudiness is not a sign that something has gone wrong but rather that you have a normal, active fermentation. The white or milky appearance comes from suspended lactic acid bacteria multiplying throughout the liquid (along with proteins, starches, and other compounds leaching from the vegetables). As fermentation progresses, the brine – which started perfectly clear – becomes increasingly cloudy, sometimes developing sediment at the bottom of the jar. This is yeast and bacteria settling out, not spoilage.
Some starchy or protein-rich vegetables create cloudier brine than others. The cloudiness might settle somewhat in cold storage, leaving clearer liquid on top with sediment below, or it might remain cloudy throughout. Either way, it’s harmless. Clear brine suggests that fermentation hasn’t started or has been very slow. If your brine stays crystal-clear after a week at room temperature, something is wrong (like too much salt, too cold, or contaminated ingredients). Cloudy brine means healthy bacterial activity is happening exactly as it should.
Why is there a white film on a ferment? Is it mould?
Some vegetable ferments are prone to the formation of kahm yeast, particularly sauerkraut and those based on chillies and cucumbers. Kahm yeast is a harmless, odourless surface yeast that forms a white opaque film or islands on exposed brine. It’s not dangerous but can create musty, yeasty off-flavours if left too long. Skim it off when you spot it, push the vegetables back under the brine, and continue fermenting.
Unlike mould, kahm never takes on a fuzzy appearance. If you see actual fuzzy mould on your ferment, this needs removing. Persistent mould problems indicate technique issues rather than bad luck. Usually, mould occurs because the vegetables aren’t staying fully submerged below the brine. They get exposed to oxygen, and the mould spores can grow. So make sure everything sits under the liquid (see Notes). Check daily and push any floating bits back under. If you persistently get mould, check if your salt ratios are correct (over 2%), room temperature, and that everything you use in preparing and storing your ferment is scrupulously clean.
How long does fermentation take? How long before they're ready?
Fermentation can take anywhere from 3 days to several months depending on what you’re fermenting, the temperature, and your taste preferences. Sauerkraut typically needs 1 to 4 weeks at room temperature; kimchi can be ready in as little as 3 to 5 days if you like it crunchy and mild or left for weeks for a funkier flavour. Fermented vegetables will be good to go within 1 to 3 weeks. Warmer temperatures speed things up; cooler temperatures slow the process and often develop more complex flavours.
Taste as you go rather than relying on fixed timelines, as your palate is the best guide to when it’s ready. Start tasting after 3 to 5 days for most vegetable ferments. You’re looking for pleasant sourness without raw vegetable harshness and texture that’s softened but still has bite (unless you prefer it very soft). The brine should taste tangy and clean, not off or unpleasant. Bubbles, cloudiness, and sour smell are all signs of active, healthy fermentation. Once it tastes how you want it, move it to cold storage to slow further fermentation. Some people prefer young, bright ferments; others want deeply sour, funky aged flavours. They’re both right!
How are fermented foods stored once ready? How long will they last?
Once your ferment has achieved a flavour and texture you’re happy with, move it to the fridge or a cold place. Cold temperatures (below 5°C/40°F) dramatically slow fermentation, essentially pausing it while keeping the ferment stable. Keep vegetables submerged under brine in sealed jars or containers, as exposure to air encourages surface mould and degrades quality. Most vegetable ferments last up to 12 months refrigerated, though flavour continues developing slowly even in cold storage. Some people prefer aged, deeply funky ferments; others find they become unpalatably sour after a few months. Check periodically for any signs of spoilage, but properly fermented foods are very stable.
As time goes on, flavour will degrade, texture breaks down, and spoilage organisms can gain a foothold – particularly if ferments are repeatedly exposed to air or warm temperatures. Signs of spoilage will be a foul smell (not just a strong fermented smell), sliminess, odd colours (pinks or greys where they shouldn’t be), or mould growing through the ferment rather than just on the surface. When in doubt, trust your senses – spoilt food smells and looks revolting in ways that healthy fermentation simply doesn’t.
You can freeze fermented foods to stop the fermentation completely, but this kills the live cultures and is therefore counterproductive.
What's the difference between fermentation and pickling?
Fermentation uses salt and time to encourage beneficial bacteria (mainly lactobacillus, as we discuss above) to preserve food by producing lactic acid, creating complex sour flavours and probiotics. Pickling uses vinegar (acetic acid) to preserve food quickly through acidification – so, pouring pre-made acid over ingredients versus letting bacteria create it. Fermented foods develop flavour over days or weeks and contain live cultures; pickled foods are preserved immediately and don’t contain beneficial bacteria unless they’ve been fermented first and then stored in vinegar. You can eat pickles straight away; ferments need a little time to develop. Both are delicious, and both create sour preserved foods but through entirely different mechanisms.
Do fermented foods contain alcohol?
Some vegetable ferments contain trace amounts of alcohol – typically under 0.5%, which is similar to ripe fruit or natural fruit juice – produced as a by-product when yeasts are active alongside lactic acid bacteria. The amount is negligible and wouldn’t affect sobriety or be problematic for most people avoiding alcohol. Ferments like kombucha and water kefir contain slightly more (0.5% to 2%) because they’re specifically encouraging yeast fermentation for carbonation. If you’re strictly avoiding all alcohol for religious, health, or recovery reasons, be aware fermented foods aren’t totally alcohol-free, though the levels are extremely low. Longer fermentation times and warmer temperatures can increase alcohol content slightly as yeasts become more active.
Are fermented foods safe for everyone to eat?
Fermented foods are generally very safe, with a couple of caveats. People with compromised immune systems should consult doctors before consuming unpasteurised fermented foods, as live cultures could theoretically cause issues. People with histamine intolerance may react badly to fermented foods because they are naturally high in histamines. Very young children can have fermented foods in small amounts once they’re eating solid foods, but they must be introduced gradually. Pregnant women often avoid unpasteurised foods (including home ferments) as a precaution, but properly fermented foods are totally safe, so it’s a personal risk assessment. The acidity (lactic acid) can aggravate reflux or stomach sensitivity in the same way vinegar or citrus might – if acidic foods generally bother you, fermented foods probably will too.
If you have never eaten fermented food before, it’s a good idea to start by eating small amounts (a forkful) each day and increase that gradually over a few weeks. The live lactobacillus bacteria and increased fibre in ferments can cause temporary bloating, gas, or loose stools, especially if you have a compromised gut biome. But this is only temporary. As these probiotics colonise your digestive tract, they diversify your gut microbiome and support the breakdown of food. The organic acids produced during fermentation (primarily lactic acid) aid digestion by creating an acidic environment that helps break down proteins and makes minerals more bioavailable. Fermented foods also contain enzymes that assist with digestion and reduce the work your gut needs to do.