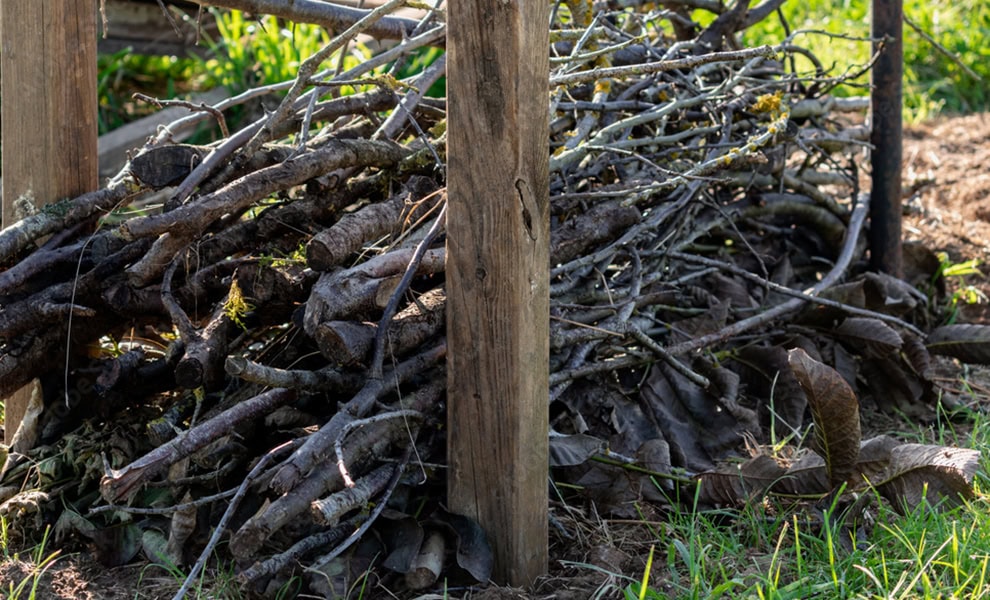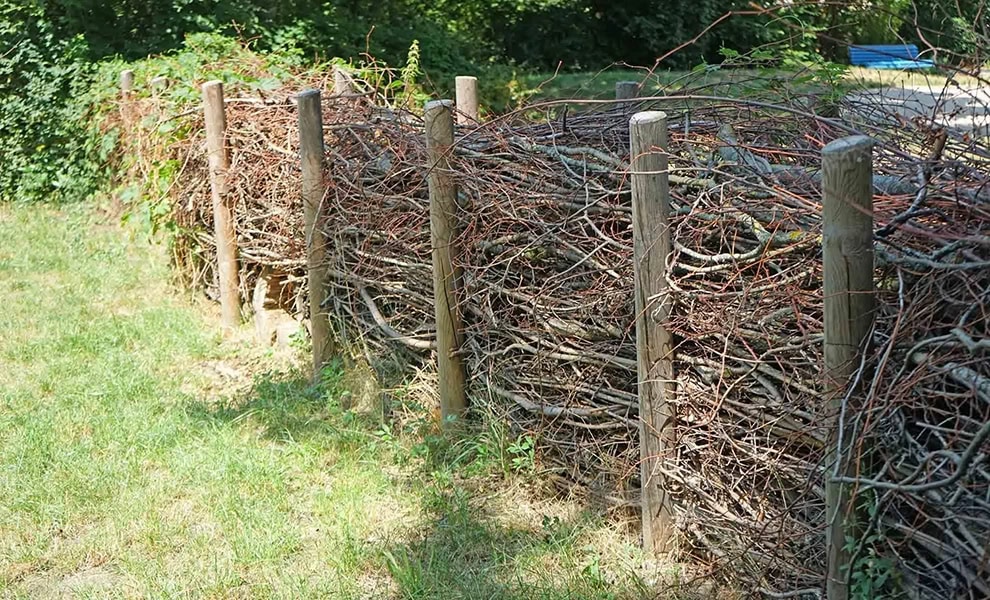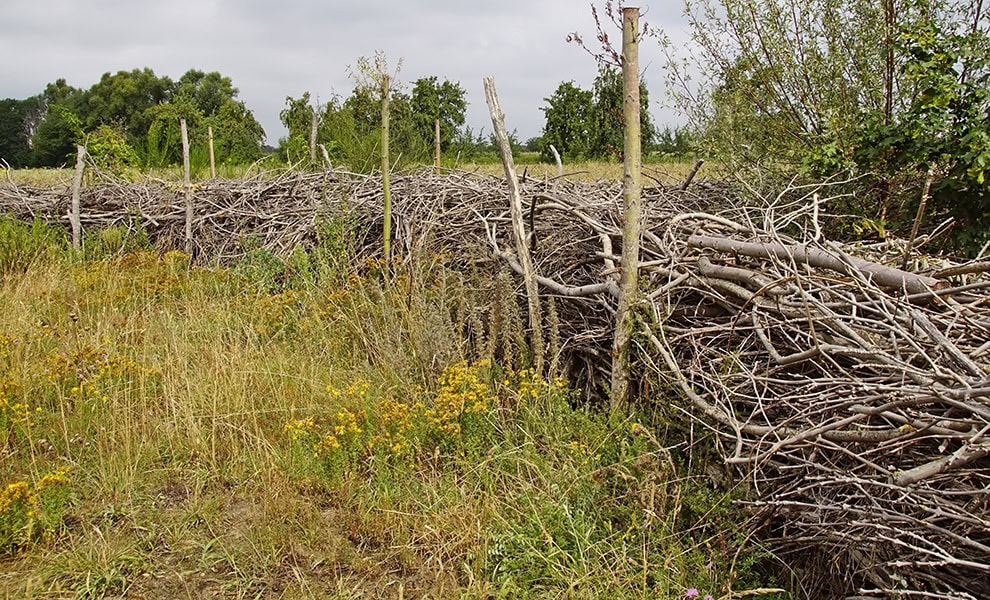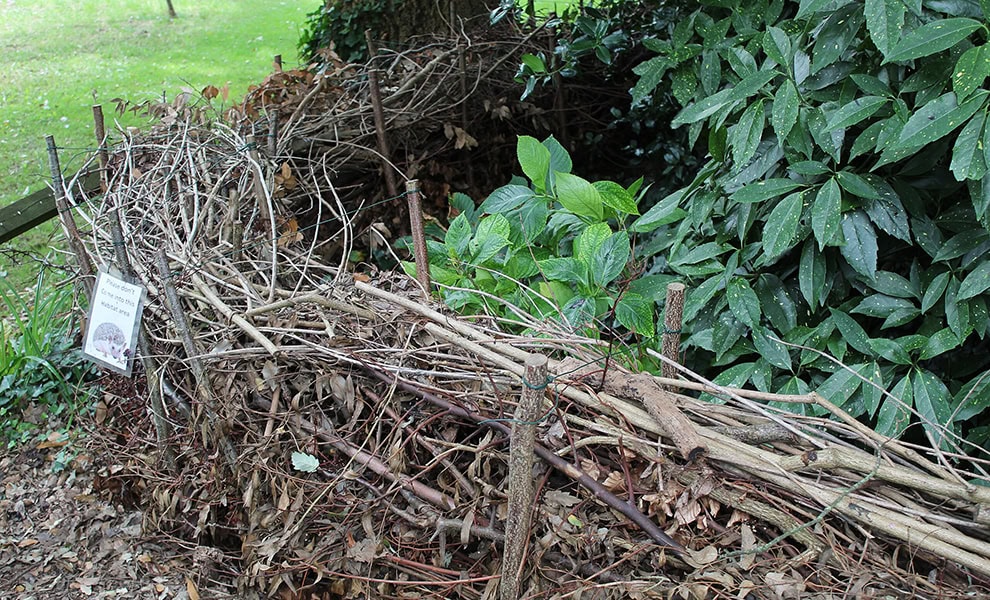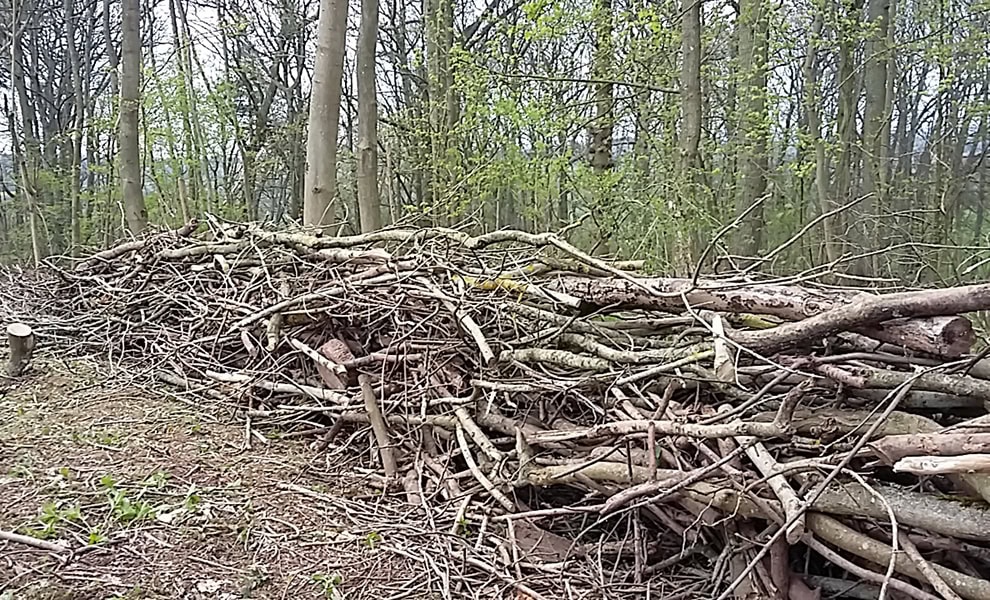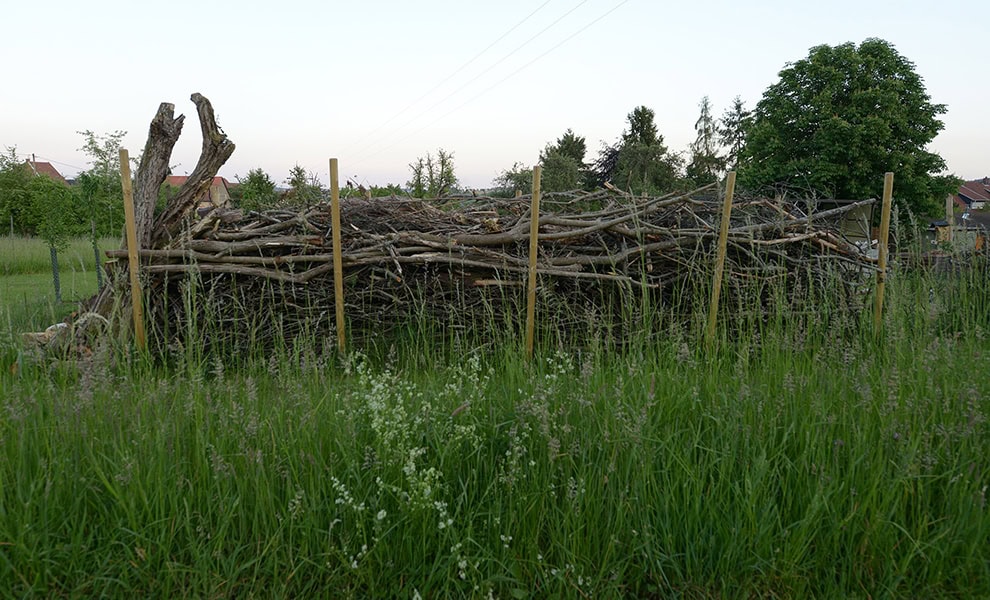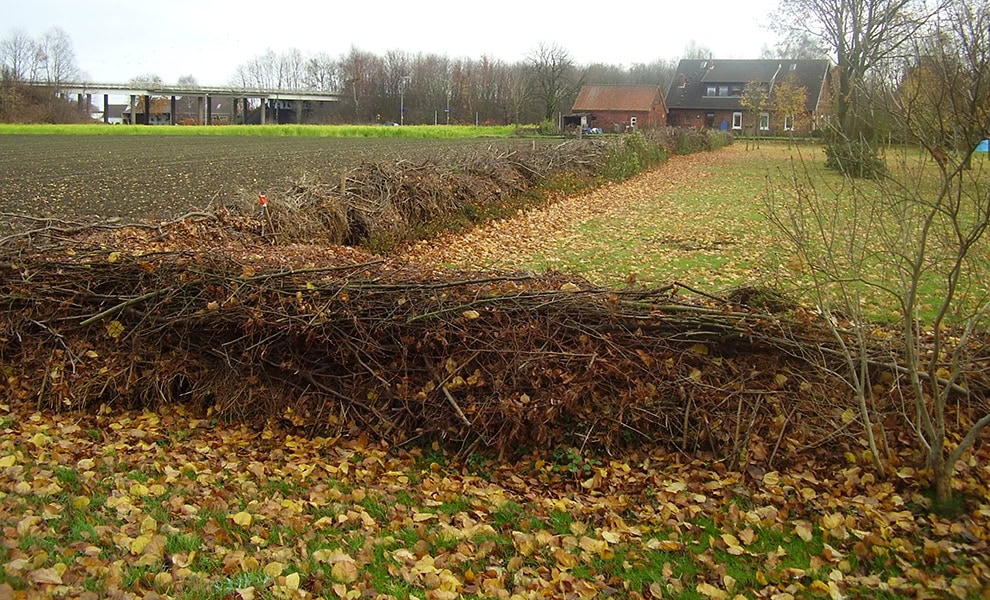
A dead hedge is a structure made by stacking pruned branches, twigs, and woody debris between rows of vertical stakes. Instead of burning or hauling away garden waste, you contain it in a purposeful form that creates a rich wildlife habitat while adding a practical or aesthetic structure to your land. You can use the hedge like any hedge/fence – to mark boundaries or screen areas. Deadwood hedges provide shelter for insects, small mammals, birds, and beneficial creatures – eventually decomposing to feed the soil. As it settles and breaks down, vegetation often colonises it, potentially developing into a living hedge over years. This is a practical way to manage woody waste on-site while building ecological function into the garden – no materials leave; everything is used in place.
How to make a deadwood hedge, brushwood hedge, or Benjes hedge
Creating a dead hedge is quicker than other methods of disposing of 'unwanted' twigs and branches and you don't need expensive equipment like trailers or chippers to do it. The design is up to you, be as simple or elaborate as you like!
1
- Pick a site that is well-drained so your wood doesn’t become waterlogged. For maximum benefit to wildlife, choose somewhere that is part sunny, part shady.
- Mow or strim the area to make it easier to work.
- Mark out the shape of your hedge (for curvy lines, use a hose or rope or pour a line of sand or lime and for straight lines, string and spikes work well). Think about the shape of it as well as how wide it will be.
2
- Install your posts at regular intervals. For large fence posts, dig a hole 30 cm – 40 cm deep using a spade, posthole digger, or crowbar to loosen soil. Place the post in the hole vertically, backfill with soil, and firm it down by tamping with your foot or a tamping bar. Alternatively, drive posts/stakes directly into the ground using a sledgehammer or post driver if your soil is soft enough and the post has a tapered end.
- Check the vertical alignment as you go.
- Space your posts 1 to 2 metres apart depending on the type of deadwood you’ll be using – if most of your wood is short pieces, you’ll want your posts to be closer together; if you have very long pieces, your posts could be more spaced out.
3
- Prepare your woody material by cutting side branches off so that you have mostly straight branches and sticks. This will help to lay everything in the same direction.
- Start laying your branches in the bottom of the hedge zone, pointing them all in the same direction the hedge runs so you create a stable, interlocking structure.
- Mix larger and smaller branches as you build up height – the smaller branches fill the gaps left by the larger wood. Press down regularly to keep everything together and avoid creating voids in the centre.
- If you are using branches that still have fresh leaves, putting logs across the hedge for the first couple of weeks will help tamp the branches down and hold everything in place until it settles.
- For added stability, drive some of your branches diagonally down through the pile as you go to lock the structure together, preventing horizontal sliding.
4
- Optional step: if you are worried about keeping everything in place, you can top dead hedges with chicken wire stretched across the top to prevent lighter material from blowing out (although this introduces a non-biodegradable element). Alternatively, rope or twine criss-crossed between the stakes like shoelaces will hold the top layers down. Tying or weaving the uppermost layer down stops the wind from lifting loose twigs; bend flexible branches back on themselves, creating tension that locks the layer, or weave longer whips horizontally through the vertical stakes to cap everything. Some builders lay heavier logs or thick branches across the top as weights.
Variations & alternatives
There's no wrong or right way to make a dead hedge and you can make it to suit your site, your style, your materials, and your purpose.
Best design for a dead hedge or Benjes hedge
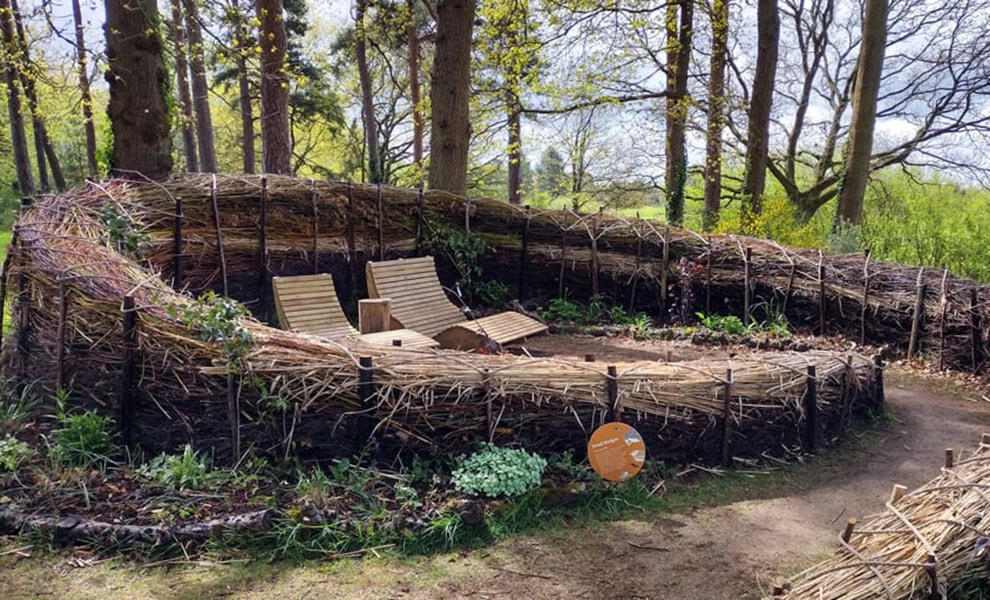
Whatever its size, the shape, width, and height of your hedge are up to you. Whether it’s naturally chaotic or scrupulously neat, it will still function as a refuge for biodiversity. Shapes you might want to consider are straight lines, circles, curves, spirals, etc. Run the hedge along the edge of existing paths or the contours of your land, or laterally across a contour to create new perspectives and spaces. Place it to create a windbreak, privacy, or hide a messy area. You can have a series of short hedges in different spots or one long, continuous hedge. The only limit is your imagination.
Best posts for a dead hedge or Benjes hedge
Your posts can be of whatever material is handy and suits your design. Rustic hazel poles work well if you can drive them into your ground – in fact, any stake or post you can make or buy for gardening purposes is suitable. If your dead hedge will also keep in livestock, you should probably opt for fencing posts – which are extremely sturdy but will need to be buried so need more work. In very stony ground where it’s hard to hammer stakes in, rebar is a good alternative (go for rebar that’s at least 10mm in diameter).
If you fill your hedge in carefully, there should be very little lateral pressure on your posts. However, you can brace the posts by nailing or screwing horizontal bracing rails across the gap between the two rows of posts – either at the top, partway up, or at multiple heights. This will prevent them bowing outward under the weight and pressure of your branches.
You can also create a dead hedge without any posts at all. Create a freestanding mound or ridge of stacked branches by piling woody debris in a linear heap. Place thicker, heavier branches at the base for stability and lighter material on top. This method relies on the weight and interlocking structure of the branches themselves to stay in place, but it will be less contained, more likely to spread or slump over time, and harder to keep tidy. It’s simpler and faster if you don’t care about defined edges and have the space for the width required (the higher you go, the more width you’ll need to keep it stable). Essentially it becomes an elongated brush pile rather than a structured hedge.
Best wood and size of material for a dead hedge or Benjes hedge
You can put any kind of wood in a dead hedge – not just wood from the garden but also old timber. However, you should avoid painted wood, manufactured board (MDF, chipboard, etc.), and treated wood. Chemical treatments (creosote, copper-based preservatives, and pressure-treated compounds) leach into soil and harm the very wildlife and soil organisms the hedge is meant to support. The point of the hedge is providing habitat and allowing natural decomposition – treated wood defeats both purposes by introducing toxins and resisting breakdown. Use freshly cleaned garden debris or old wood from previous years’ clean-ups.
You can use any size woody material too, from large logs to tiny twigs. Thicker branches (up to 20 cm diameter) work best for the main structure as they’re substantial enough to create stable layers and take longer to decompose. Use these at the base and throughout the core. Thinner prunings (under 5 cm) can fill gaps or go on top, but alone they don’t create enough structure. Very fine material like hedge trimmings compress too much and break down quickly; they may be better used as mulch or added to the compost heap.
Different materials for a dead hedge or Benjes hedge
Some people like to create a solid base under the hedge by placing large rocks or logs at the bottom and then placing branches on top of that. It’s not essential, but mixing materials can help you make the hedge more decorative. Placing an inorganic material like rocks could help if the only spot available to you is waterlogged.
Another question is what to do at the ends of your hedge. You can just let the hedge end naturally, but again, some people choose something more decorative, such as stacking larger logs at the end to form a ‘wall’. You could run your hedge between two trees so that they provide a natural bookend to the fence. Some designs involve tapering the height down towards the end so that the hedge looks like it’s growing out of the ground.
If you are interested in making the hedge more decorative, you can create layers by alternating wood with different bark colours – for example, silver birch (white), dogwood stems (red, yellow, or purple depending on species), willow (orange, green, or brown), and cherry (copper-brown with horizontal lenticels). Stacking these creates bands as you build up the hedge. The contrast is most visible when fresh; as bark weathers and lichens colonise, the definition will soften.
Notes about dead hedges
Dead hedges can also be referred to as dry hedges, brush hedges, brushwood hedges, deadwood hedges, habitat hedges, brush pile hedges, or Benjes hedges.
Make your hedge even more beneficial to wildlife by adding a watering spot nearby. If the hedge is long, consider placing at least one terracotta pipe across it at ground level so that wildlife can easily get to the other side. You can also place halved terracotta pots at certain points to help small creatures access the inside of the hedge where they can nest or feel safe.
Frequently asked questions (FAQ)
What's the difference between a dead hedge and a Benjes hedge?
Both terms refer to a deadwood hedge made from stacked branches and woody debris contained between rows of vertical stakes, creating a linear habitat structure. The terms are used interchangeably in most contexts.
If there’s any distinction, it’s that a ‘Benjes hedge’ specifically references Hermann Benjes and his systematic approach using the structure deliberately for habitat creation and eventual live hedge development as vegetation colonises it. ‘Dead hedge’ is the more generic term that simply describes what it is – a hedge made of dead wood – without referencing the full ecological regeneration concept.
One could argue that a Benjes hedge implies intention around wildlife habitat and succession planting, while a dead hedge could just be practical brush disposal that happens to look tidy. But functionally they’re the same structure, and most people use whichever term they encountered first.
What are the benefits of a deadwood hedge?
Dead hedges compact and organise garden ‘waste’ for little to no cost, while keeping this resource on-site eliminates disposal fees and transport. They function as carbon sinks by keeping material in place rather than burning it or hauling it away, preventing carbon release into the atmosphere. The stacked wood provides a diverse wildlife habitat – creating spaces for fungi, insects, small mammals, birds, and amphibians that form the foundation of healthy garden ecosystems. These structures help build green corridors, connecting fragmented habitats and supporting broader conservation efforts in a cost-effective way.
By establishing diverse habitats away from crops and buildings, dead hedges encourage biological pest control through balanced predator-prey relationships – beneficial insects and small predators that control pest populations naturally. The structure decomposes slowly over years, enriching soil as it breaks down, but leaves no permanent trace and introduces no synthetic materials like plastic into your garden. Dead hedges can be built as formal boundaries, decorative screens, or sculptural features depending on material choice and construction style, proving that functional wildlife habitat doesn’t require compromising on garden design.
A dead hedge is an excellent example of multiple permaculture principles in practice. It turns waste into a resource; serves multiple functions (windbreak, boundary, and habitat) from one structure; builds diversity and resilience by supporting a wide range of species; works with natural decomposition rather than synthetic materials; extends the valuable edge/corridor effect beyond a single garden; and does all of this for close to no cost or ongoing effort.
What wildlife does a dead hedge or Benjes hedge support?
Dead hedges support layers of interdependent species across multiple ecological niches. Fungi and bacteria colonise the wood, breaking down cellulose and creating entry points for other decomposers. Invertebrates like beetles, spiders, woodlice, and centipedes feed on decaying material and each other, establishing complex food webs within the structure. These invertebrates attract insectivorous birds like wrens, robins, and thrushes that forage through the branches, while the dense cover provides nesting sites and protection from predators and weather.
Small mammals, including mice, voles, shrews, bats, and hedgehogs, use the hedge for shelter, hibernation, and as hunting grounds for the invertebrate prey living within it. Amphibians and reptiles like frogs, toads, and lizards shelter in the cool, damp lower layers during dry periods. Cavity-nesting solitary bees and wasps occupy hollow stems, contributing to pollination across your garden. The structure creates refuges – safe overwintering sites for beneficial insects, including ladybirds, lacewings, and hoverflies, that provide biological pest control during the growing season. Grass snakes and slow worms may use hedges in suitable locations for basking or egg-laying in the warmth generated by decomposition.
The hedge functions as a multi-storey habitat supporting species from decomposers through to apex predators, with each layer and cavity creating microhabitats for different ecological requirements throughout the year.
What planting opportunities does a dead hedge create?
Dead hedges create sheltered microclimates that enable planting schemes otherwise unsuitable for your site. The walls buffer wind, trap humidity, moderate temperature swings, and cast dappled shade – conditions where woodland edge plants thrive. This means you can grow shade-loving perennials, ferns, and moisture-dependent species in gardens that are otherwise sunny, dry, or windswept.
The structure artificially recreates forest margin conditions where light levels transition and protection increases. Woodland edge planting includes flowering perennials that support pollinators through shadier seasons and structural shrubs that thrive in partial shade. The sheltered interior of circular or enclosed structures amplifies this effect, creating warm pockets that can support borderline-hardy species that would fail in open garden positions.
How long will a dead hedge or Benjes hedge last?
You could maintain a dead hedge indefinitely. Properly constructed dead hedges in a sheltered spot, using thicker logs and branches well-compacted and secured between sturdy posts, could last up to 20+ years before significant decomposition. Lighter material or loosely stacked piles will break down faster – within 10 years. But a dead hedge is non-destructive, and every element is replaceable, so it could, in theory, last a lifetime. As lower layers decompose, the structure settles and compacts, so you can keep adding fresh material as time goes by. When posts rot, you replace them. Eventually vegetation colonises the space, potentially developing into a living hedge (if you want). If the design and position suit you, your dead hedge never has to change!
If you don’t want your hedge anymore, pull out the posts and let the structure collapse, then either leave the material to decompose in place as a ground-level habitat pile, spread it across beds as rough mulch, or move it to a less visible area of the garden. If you need the space cleared entirely, the decomposed lower layers can be incorporated into soil or compost heaps, while any remaining solid wood can be chipped, burnt, or taken for green waste disposal. Since there are no permanent materials involved, dismantling is straightforward. The more decomposed the hedge, the easier it breaks apart. If it’s still largely intact and you’re relocating rather than removing it completely, you can rebuild it elsewhere using the same material.