There’s something quietly radical about making proper soap from fat and lye. The chemistry of soap-making is easier than you might think, plus there’s lots of room to experiment with extra ingredients and fragrances. The soap you make through proper saponification is fundamentally different from mass-produced soaps, which are often synthetic detergent bars. Homemade soap has glycerine left in (which commercial manufacturers typically extract and sell separately) and is naturally more moisturising! In soapmaking, fat can be almost any oil or animal fat you have to hand. The lye (sodium hydroxide) is the only ingredient you’ll need to buy from a chemical supplier or hardware shop, as it’s not something sitting in your kitchen already. You can make a high-quality product for much less than shop-bought soaps cost.
Supplies/materials
-

- 500g of oil (or mix of oils)
-

- 70g sodium hydroxide (lye)
-

- 190g water (distilled or filtered)
-

- Essential oils
Tools/equipment
-

- Heat-proof containers
-

- Whisk + spatula
-

- Thermometer
-

- Safety glasses + gloves
Make a basic cold process soap
Start by making this simple olive oil soap. Olive oil is easy to source and relatively cheap, plus it makes a lovely soap that will keep. You don't need to buy 'virgin' olive oil - a 'pomace' grade oil is fine. Just make sure it isn't blended.
1
- Wear safety goggles and gloves when making soap.
- Weigh your water and lye separately. In a heat-proof container, start adding your lye to the water, stirring gently. Never add your water to the lye!
- The solution will heat to around 90°C. Set aside until it cools to around 40°C.
2
- Weigh your oils into another container and warm gently on the hob or in a microwave until fully liquid and at around 40°C.
- When both mixtures are at the target temperature, slowly pour the lye solution into the oils.
- Use a stick blender in short bursts, stirring between pulses, until the mixture reaches ‘trace’. This is the point where the mixture thickens enough that it will coat the back of your spatula and drizzled soap leaves a brief mark on the surface before sinking back in.
3
- Add any essential oils or extras once you have reached trace. Mix thoroughly but quickly.
- Pour into your moulds, tapping gently to release air bubbles, and smooth the top.
- Cover with cling film or a lid and leave undisturbed for 24 to 48 hours.
4
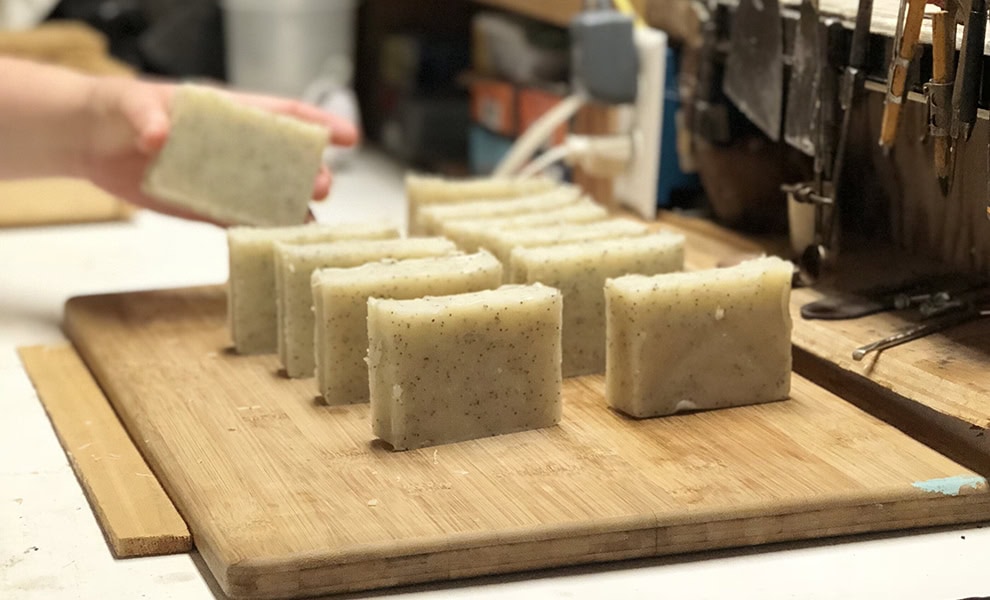
- Unmould your soap and cut it into bars if needed. Wear gloves as the soap is still caustic at this point.
- Place the bars on a rack or paper with space between them. Cure in a cool, dry place with good air circulation for 4 to 6 weeks, turning occasionally.
- You can test the pH before you start using your soaps. Finished soap should be pH 9 to 10, so if it’s higher, just cure for longer.
Notes about soap-making
Always add lye to water, not the other way around. When you add water to lye, the lye dissolves so rapidly and generates so much heat that the water can boil instantly, causing the lye solution to erupt, spit, or even explode. This violent reaction can cause severe chemical burns and can blind you if it hits your eyes.
You can hand whisk your soap mix, but it will take longer (and remember you can’t stop halfway and come back later because the mixture needs to reach trace whilst everything’s at the right temperature and properly combined). Depending on your oils and temperatures, reaching trace by hand can take anywhere from 20 minutes to over an hour of whisking. Hand whisking can sometimes leave you with a false trace – where the mixture looks thick but hasn’t properly emulsified and can subsequently separate in the mould. But if you’re making a small batch, the meditative benefits of hand mixing are worth it! Many soap makers actually prefer to hand stir initially and only use the blender for the final push to trace, if at all.
If you use a stick blender, be careful of over-blending (more likely with recipes high in saturated fats like coconut or palm oil). You can tell you’ve over-blended when the soap thickens dramatically and suddenly, losing its fluid, pourable consistency. Instead of ribbon-like drizzles that sink slowly back into the mixture, it plops off your spatula in thick globs. The solution is to use short pulses of the blender (three to five seconds at a time) and then hand stir for around 30 seconds between pulses.
Frequently asked questions (FAQ)
Why are natural soaps 'better' than commercial soaps?
If you look at the label of a mass-produced soap, you’ll see quite a few ingredients that aren’t in our recipe. These ingredients exist to make manufacturing cheaper, extend shelf life, or create marketing-friendly properties like excessive foam. They’re not there for your benefit but the manufacturer’s convenience. By making your own soap, you can control what goes in and what stays out.
Some problematic ingredients are:
Sodium lauryl sulfate (SLS) and sodium laureth sulfate (SLES)
Harsh synthetic detergents that produce lots of lather disrupt your skin’s natural oils and can cause irritation, particularly for anyone with sensitive skin or conditions like eczema. They are endocrine disruptors and mimic oestrogen in the body. They may also be carcinogenic.
Mineral oil and petroleum jelly
By-products of petroleum refining, they sit on top of skin rather than absorbing, creating a barrier that feels moisturising but actually prevents your skin from breathing and doing its own work.
Parabens (methylparaben, ethylparaben, propylparaben, or butylparaben)
Preservatives that prevent bacterial growth in products with high water content, parabens have been linked to breast cancer. Whether the amounts in soap cause actual harm is debated, but many people prefer not to take the risk.
DEA (diethanolamine, cocamide DEA, lauramide DEA, or oleamide DEA)
Used to make products creamy and help them lather, it can react with other ingredients to form nitrosamines, which are potentially carcinogenic. It’s also a skin and eye irritant. Some countries have restricted its use.
What is saponification?
Saponification is the chemical reaction that creates soap. When lye (an alkali) meets fat or oil (triglycerides), the alkali breaks apart the fat molecules and rearranges them into two new substances: soap and glycerine. It’s a chemical transformation where the original molecules cease to exist and new ones form.
The reaction is exothermic, meaning it generates heat, which is why your soap mixture warms up during the process and why the lye solution gets dangerously hot when you first mix it. The heat drives the reaction forward, helping the transformation complete. The saponification process starts immediately when you mix lye and oils, accelerates during the first 24 to 48 hours, then continues more slowly during the cure. When saponification is complete, your soap is ready to use. At this point all the lye has reacted, and what remains is pure soap with its natural glycerine intact.
Soap molecules have a split personality. One end attracts water; the other attracts oil. This lets soap bind to both grease and water simultaneously, which is why it cleans. When you wash your hands, the soap molecules grab onto oils and dirt, then rinse away with water, taking the grime with them.
What's the difference between cold process soap and hot process soap?
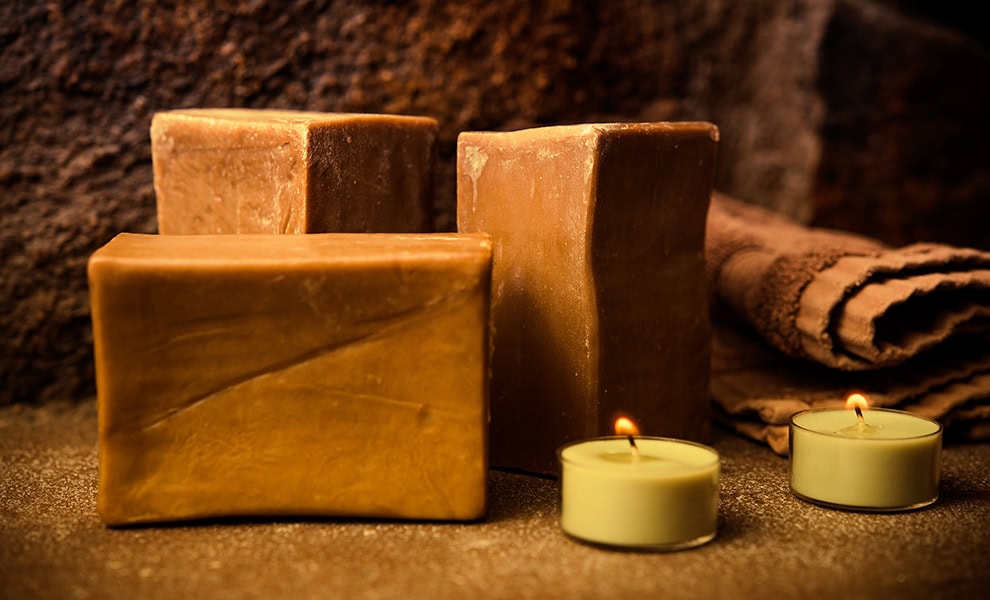
This how-to looks at making cold-process soap. With this method, you mix lye and oils at moderate temperatures and let saponification happen naturally over time, so the soap needs a full cure. The hot process involves cooking the soap mixture, usually in a slow cooker, to force saponification to complete much faster. The result is soap you can technically use immediately, although it still benefits from additional drying time. Hot process soap tends to be more rustic in texture and appearance – Marseille soap (Savon de Marseille) is a good example of a hot-process soap. Cold process gives you more control over appearance, allows for intricate designs, and produces bars with a nicer finish. Both methods create equally effective soap.
What's the difference between sodium hydroxide and potassium hydroxide?
Sodium hydroxide (caustic soda, NaOH, or lye) makes hard bar soap, as described in this how-to. Potassium hydroxide (caustic potash or KOH) makes soft or liquid soap – the gel-like consistency used for handwash, shampoo bases, or traditional liquid soaps.
Chemically they’re similar, but the resulting soap molecules have different structures. They have different saponification values and produce fundamentally different products. Some advanced soap makers blend both to create cream soaps or speciality products with particular textures, but that is more complex work requiring precise calculations. Potassium hydroxide is more hygroscopic, meaning it absorbs moisture from the air aggressively, so storage is trickier. For beginners, sodium hydroxide and bar soap are the simpler path. Liquid soap making involves different techniques, longer cooking times, and dilution phases that complicate the process. If you’re starting out, master cold process bars first, then consider liquid soap once you’re comfortable with the fundamentals.
Can sodium hydroxide (lye) be substituted with something less caustic?
No, you can’t substitute lye for something else. Soap is the product of a chemical reaction between lye and fat. Without lye, you would just have scented oil. Recipes that use products like baking soda, vinegar, or other household substances instead of lye are not producing real soap because these ingredients cannot saponify fats. The caustic nature of lye is what makes soap possible.
If you’ve looked at shop-bought soaps and been confused as to why sodium hydroxide (lye) doesn’t appear in the ingredients list, it’s because the lye no longer exists in the end product. The saponification reaction transforms the sodium hydroxide and fats into entirely different molecules – soap and glycerine. By the time the process finishes, there’s no sodium hydroxide left to list. In other words, it’s chemically impossible for it to be there if the soap has been made properly.
Can any type of fat or oil be used to make soap?
You can use almost any type of fat or oil – including animal fats – to make soap. Each fat behaves differently and produces different soap qualities, so what you choose will affect shelf life, hardness, lather, moisturising effect, etc. Olive oil, for example, makes a mild moisturising soap that’s soft and takes longer to cure. Coconut oil creates hard bars with lots of lather but can be drying if you use too much. Lard and tallow make excellent soap that’s hard, long-lasting, and surprisingly gentle. You can use a single oil or blend several to achieve the desired balance of qualities.
The thing to remember is that the exact amount of lye needed by your recipe will depend on which oils and fats you use and the ratios (see the question below).
How are lye amounts calculated for different oils?
There is no generic, universally applicable recipe for soap. The amount of lye you add will depend on what oils and fats you use. Each oil has its own saponification (SAP) value, which is the amount of lye required to turn one gramme of that oil into soap. Olive oil needs 0.134 g of lye per gramme of oil, coconut needs 0.185 g, lard needs 0.138 g, and so on. When you’re blending oils, you calculate the lye needed for each oil separately, then add them together. You can use online lye calculators to help keep track of the maths if you need.
After you’ve calculated the exact amount of lye needed, you need to make a small adjustment called ‘superfatting’. All this means is that you factor in a small margin that will leave some excess oils left in the soap for moisturising. The typical range is 2% to 5%. You can do this in two ways: either add up to 5% in extra oils OR reduce the amount of lye by up to 5%. The percentage you opt for depends on how long-lasting your oils are (superfat less if they go rancid quickly) or how moisturising you need your soap to be (superfat more for extra oily/creamy soap). 3% is a safe amount if you’re just starting out and aren’t sure how the qualities of your oils will affect your end product.
Soap making is chemistry, so you can’t eyeball these calculations. Use a calculator and weigh precisely, and your soap will be fabulous!
What fragrances and other ingredients can be added cold process soap?
There are lots of scents, additives, and colourings you can add to soap.
Essential oils for scent are added at trace; use 2% of your total oil weight as a guideline. Fragrance oils work too but can accelerate trace or cause discolouration, so research each one beforehand. Some vanillin-containing fragrances turn soap brown, which might be fine or might ruin your aesthetic.
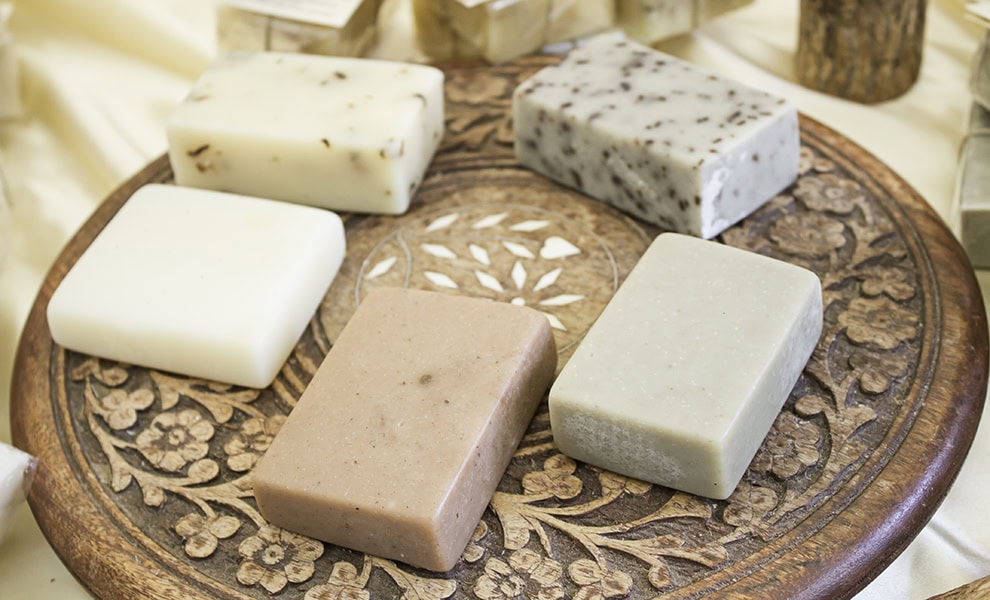
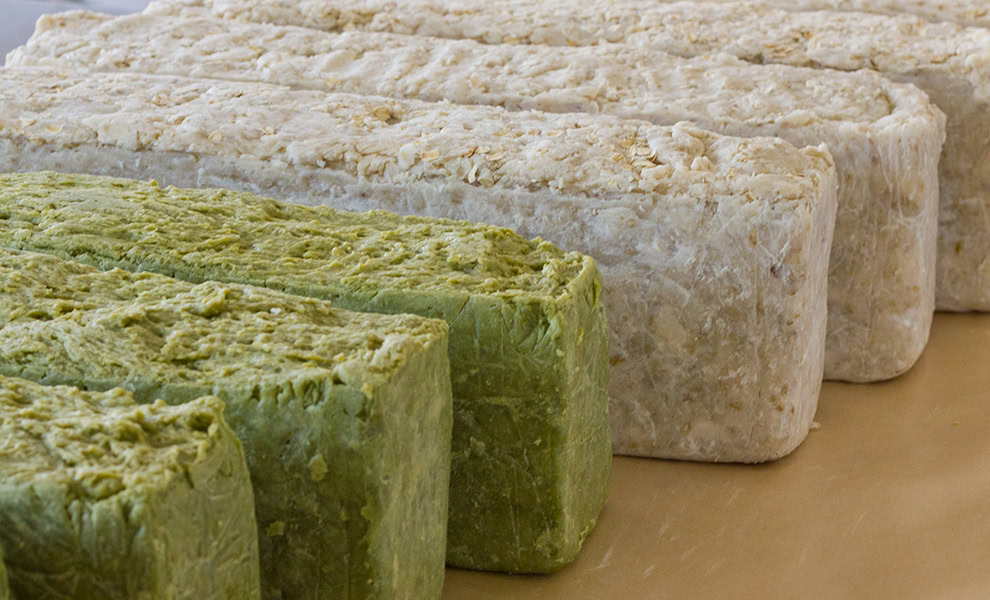
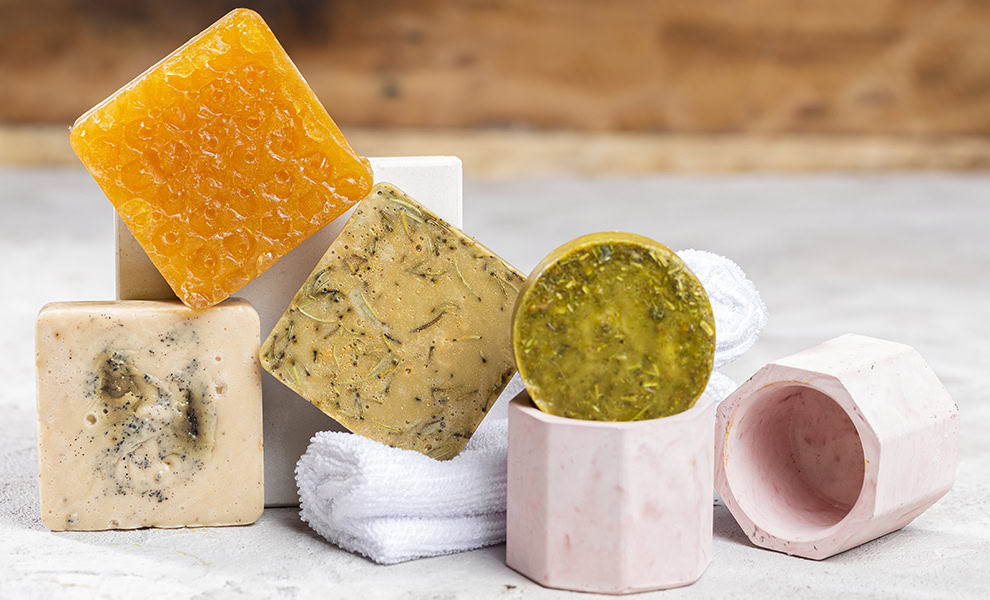
For texture and exfoliation, you can add ground oatmeal, coffee grounds, poppy seeds, pumice, or dried herbs. Stir these in at trace. A tablespoon or two per batch is usually sufficient; too much and your soap will be scratchy rather than gently exfoliating.
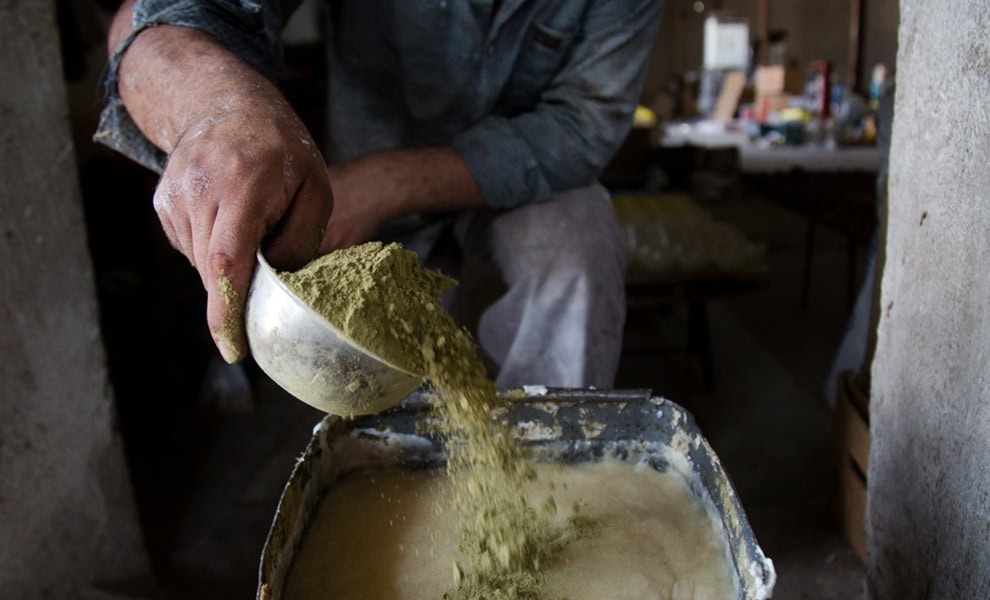
Natural colourants include clays (kaolin for white, French green clay, and rose clay for pink), activated charcoal for black or grey, turmeric for yellow, and cocoa powder for brown. These are generally stable in soap, though some natural colours fade over time.
You can add dried flowers, petals, or herbs on top of soap for decoration, but anything inside the bar will turn brown eventually as saponification is harsh on plant matter. For instance, calendula looks lovely initially but goes murky after a few weeks.
Milk (such as cow, goat, or coconut) can replace some or all of your water, creating a creamier soap. Freeze the milk first and add lye slowly to prevent scorching and a burnt smell. Honey adds a bit of luxury, but watch out for overheating and potential explosions.
More advanced home soap makers might want to experiment with fresh fruit or powdered fruit extracts. Fresh fruit will need an antioxidant like vitamin E oil, and for a longer shelf life it needs to be added to the lye rather than being added at trace.
What moulds can be used for soap making?
Silicone loaf moulds designed specifically for soap are common. They are rigid enough to hold their shape but flexible for unmoulding. Individual cavity moulds come in every shape imaginable. Traditional wooden slab moulds with removable sides are a good choice for larger batches. You’ll find them at craft suppliers, soap making specialists, and online retailers. They’re convenient but entirely optional; plenty of soap makers never buy dedicated moulds.
If you want to make your own mould from repurposed household items, here are some ideas: cardboard boxes lined with baking paper, silicon baking moulds, terracotta plant pots lined with paper, old milk or juice cartons, Pringles tubes, ice cube trays, yoghurt pots, margarine tubs, or wooden wine boxes. Once you start looking, there are probably lots of items you can divert from your recycling bin and turn into the perfect – free – soap mould!
Avoid using metal unless it’s stainless steel, as aluminium and other metals react with lye. Glass works but risks thermal shock if your soap heats up too much during the gel phase. Plastic containers are fine as long as they’re rigid enough not to bow under the soap’s weight.
Does soap-making equipment need to be sterilised?
There’s no need to sterilise the equipment you use for making soap; just clean it thoroughly. Soapmaking isn’t like canning or fermenting, where contamination ruins the batch. The lye solution itself is highly caustic, and nothing survives in it. So your equipment needs to be clean and free of food residue, but standard washing-up is sufficient. That said, you’ll probably want to use dedicated bowls and utensils for soap-making because lye can etch glass over time and leave residues in plastic. Once you’ve used a jug, spoon, or spatula for soap, keep it for soap. The best bowls are stainless steel or heat-resistant plastic, as they are both easy to clean and won’t react with lye.
Is it possible to speed up the curing time for soap?
You can’t really speed up the curing time of cold-process soap. Some people use soap after a week or two, and as saponification is mostly complete within 48 hours, this is technically possible. But young soap is soft, dissolves quickly in the shower, and can be harsher on skin because the pH hasn’t dropped. Curing lets excess water evaporate, which hardens the bar and makes it last longer. It also allows the soap’s pH to stabilise and any remaining lye pockets to neutralise. Hot process soap making cooks the mixture to speed up saponification, but even that benefits from a cure (albeit a shorter one). The four to six weeks of curing time suggested will genuinely improve your soap. Patience produces a better product.
What are the common soap making issues or mistakes?
There are a few issues you might experience with your batch:
Gelling
If soap heats up enough during saponification, it transitions into a gel phase. It becomes translucent, shiny, and slightly jelly-like in the mould. The centre of the soap gets hottest, sometimes reaching 80°C or more, and you’ll see this gel zone spread outward. Gelled soap tends to be darker, more vibrant in colour, and has a slightly glossy, translucent quality when cut. Un-gelled soap stays opaque and matte with softer colours. Both are perfectly good soaps – gelling doesn’t make it better or worse functionally, just different aesthetically. Some soap makers encourage gelling by insulating their moulds with towels or putting them in a warm place. Others prevent it by putting soap in the fridge or freezer (especially with recipes prone to overheating). Partial gelling, where only the centre gels, creates an unappealing ring or darker core, which is why people tend to push for full gel or no gel rather than leaving it to chance. So gelling isn’t a problem, but don’t try to cut your soap during the gel phase, as it’s still caustic and won’t hold its shape.
Separation or seizing
Pockets of oil floating on top or pooling in the mould mean the mixture didn’t emulsify properly. The most usual cause is compounds found in fragrances or essential oils. Try stirring everything together again. If the soap doesn’t absorb the oil over time, you may miscalculated the amount of lye.
Soap that stays soft and greasy after 48 hours, or develops a harsh, crumbly texture, has likely got the wrong oil-to-lye ratio. White, powdery deposits on the surface (soda ash) are cosmetic and harmless, though they look unappealing. Orange or brown spots indicate rancid oils—that batch needs binning. If your soap stings or tingles when you test it on wet skin after curing, it’s lye-heavy and shouldn’t be used. When in doubt, test the pH or simply make a fresh batch.
Cracking or crumbling
Cracks usually mean the soap overheated during saponification. The reaction was too vigorous, often from insulating it too heavily or using a recipe high in fast-reacting oils. So the soap expanded, then contracted as it cooled, leaving fissures. Cracks affect the appearance, but the soap itself is fine to use. Crumbling happens when there’s too much lye or too little water relative to the oils, creating a harsh, brittle bar. If it’s not usable in that state, grate it and use it as laundry soap.
Powdering
White, powdery deposits on the surface are soda ash, which is harmless but unappealing. You can scrape or wipe it off. To prevent this in the future, cover the surface of the soap with cling film while it’s curing.
Curdling
Recipes that use goat’s milk or different lyes can curdle. The solution is to keep stirring.
Weeping or sticky patches mean the soap hasn’t fully saponified and needs more curing time, or your measurements were off. Most of these issues won’t harm you, but they indicate the recipe or process needs adjustment.
Spots, mottling, or bubbles
Dark spots suggest fragrance oils that haven’t mixed in properly. Mottling often occurs when colourings (like powdered spices) haven’t mixed in properly. In both circumstances, the soap is fine to use.
If you have brown bubbles in your soap and your recipe used honey, the soap is fine to use. But if there was no honey in the recipe, these brown bubbles are probably pockets of lye and you shouldn’t use the soap.
Orange or orangey-brown spots indicate oxidised oils. Although the soap is safe to use, soap-makers discard these batches because it indicates the oils were probably marginal to begin with. Rancid oils produce a characteristic stale, crayony smell. To prevent this in the future, use fresh oils, add vitamin E or rosemary oleoresin as antioxidants if you’re using delicate oils, and store finished soap properly.
What is the correct pH for a bar of soap?
If your soap stings or tingles when you test it on wet skin after curing, it’s lye-heavy and shouldn’t be used. If you’re worried, test with pH strips. Finished soap should be pH 9 to 10. That’s the natural pH of properly made soap, and it’s necessary for soap to work; the alkalinity is what allows it to clean effectively. Anything below pH 9 isn’t really soap anymore, and anything above pH 11 suggests excess lye or incomplete saponification.